Replacing a faucet seems simple until you're wedged under the sink with a confiscated nut, a face full of mineral flakes, and no container wrench in reach. The real Faucet Installation is typically the very easy component. The tough component is what you do prior to the new fixture ever before touches the deck. Prep work determines whether the job takes an hour and a smile, or all mid-day and brand-new vocabulary.
This overview strolls you through the preparation that skilled installers do almost without believing. It's the difference between clean, dry connections and sluggish leakages that show up next week. It's likewise the most effective means to stay clear of breaking a shutoff valve that hasn't relocated considering that the last property owner painted the kitchen Harvest Gold.
Why the preparation matters greater than you think
Water discovers the tiniest spaces, and faucet settings up now deliver with tight tolerances to keep lines concealed and accounts sleek. That's excellent for aesthetic appeals, yet it leaves little area for careless surface areas or misaligned openings. A scratched deck can telegraph with a slim escutcheon. Old putty can toss a gasket out of plane by a millimeter, enough to cause a weep that ruins a cupboard floor gradually. Preparation brings surface areas level, connections true, and bolts within fingertip reach, so the installation ends up being simple rather than acrobatic.
There's additionally the safety angle. Plumbing under a sink is a confined tangle of copper, PEX, PVC, and occasionally electric. Prepping gets rid of the space and lets you see what you're dealing with: brittle shutoff valves, corroded supply lines, or a catch pitched so badly it has actually been catching debris for many years. A half hour of reconnaissance can save you from fracturing a shutoff, swamping a cabinet, or mixing cold and hot because the old lines were mislabeled.
Know your sink and faucet prior to you start
Match the tap to the sink, and the preparation gets basic. Presume incorrect, and you'll be reducing escutcheons or filling openings after the fact. Sinks come pierced with one, two, three, or four holes. A single-hole faucet with a deck plate can cover additional openings, but a three-hole prevalent faucet will never fit a single-hole sink. Procedure the center-to-center distance if your faucet prevails. For many kitchen sinks, three openings at 8 inches apart prevail. Washroom prevalent faucets are usually 8 inches, with mini-widespread at 4 inches, and single-hole as the minimal choice.
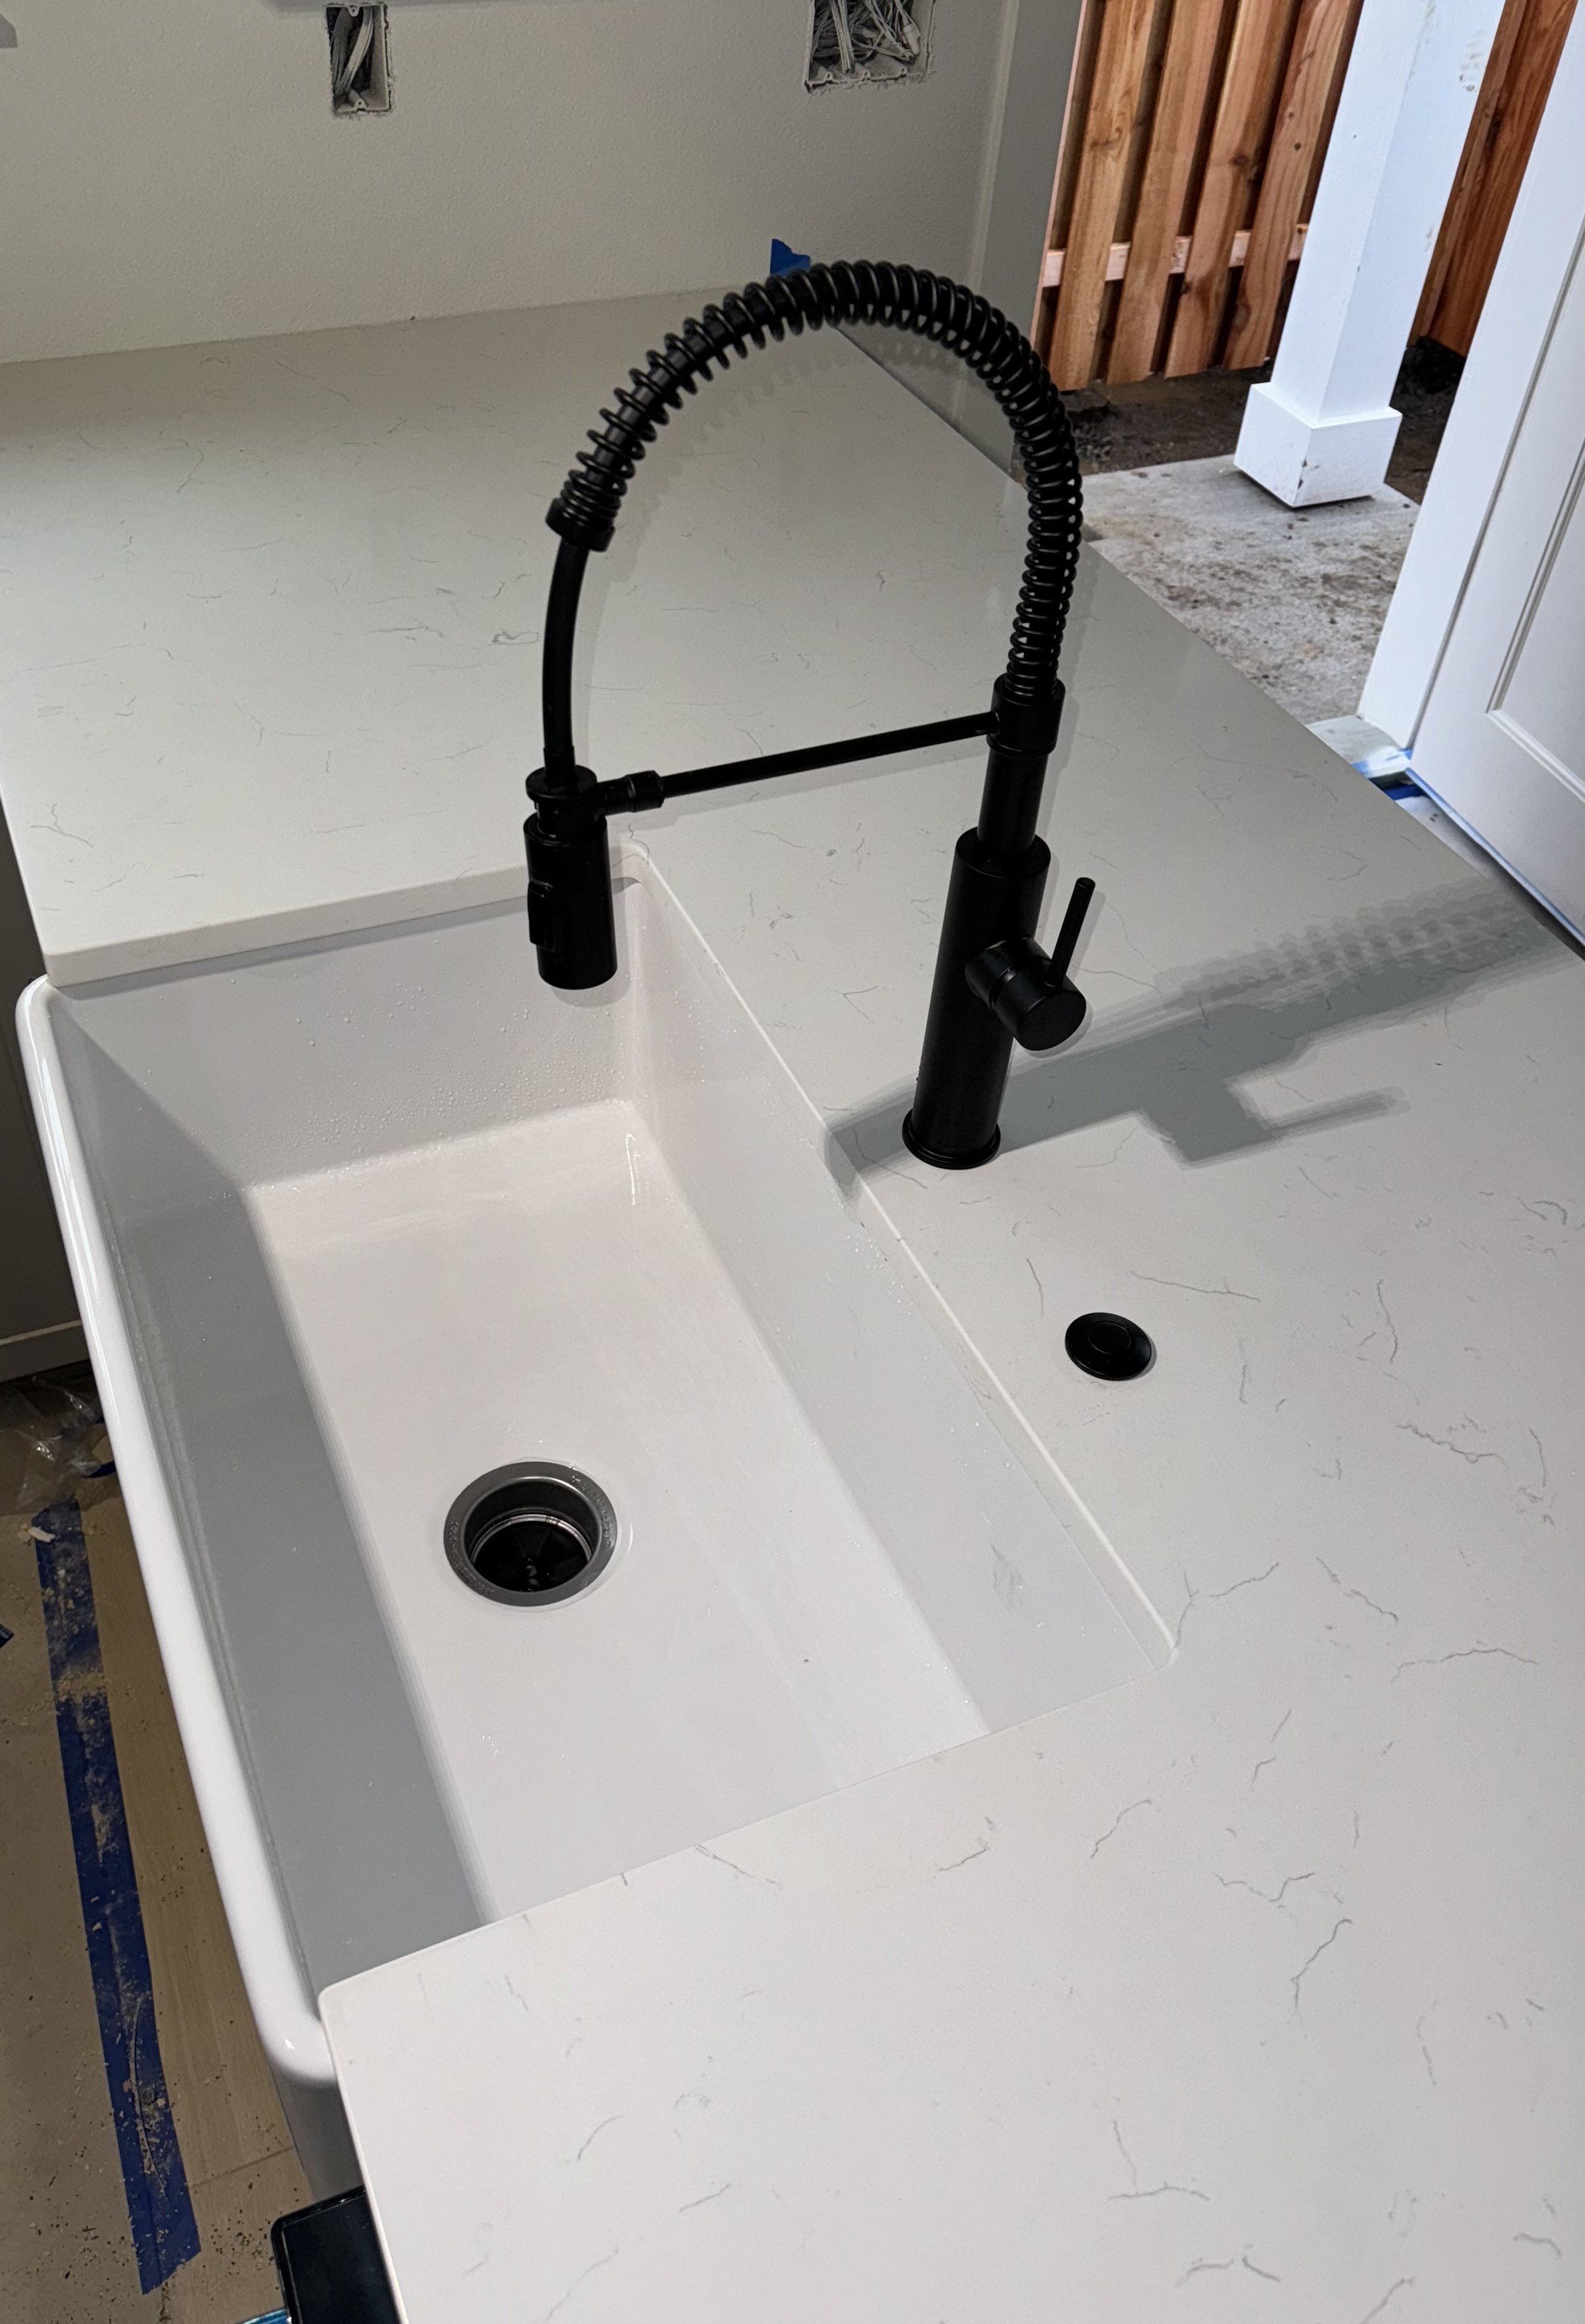
Inspect just how your sink installs. Top-mount sinks have a rim that catches grime under the side. Undermount sinks depend upon the countertop cutout staying clean and flat. Porcelain-coated steel, fireclay, cast iron, stainless, granite compound, strong surface area, quartz, natural rock, laminate with a stainless drop-in, even timber tops with a marine finish-- each responds in a different way to cleaners, putties, and motion. Know the material so you pick the best sealant and avoid scratching or tarnishing throughout prep.
If your tap consists of an integrated deck gasket, skip plumbing technician's putty where the supplier states so. Numerous thin escutcheons rely upon a foam or silicone gasket to stay water tight. Putty in the wrong place can squeeze out and develop a teetering surface area or stain porous stone.
Clear the job zone and safeguard what you can not replace
Start by emptying the closet. Every container, sponge, and failed to remember jar of paste wax comes out. Lay a towel or a corrugated cardboard panel on the closet floor to protect it and to catch drips. I maintain a low plastic container under the shutoffs, with a folded towel inside. It slides quickly and keeps tiny components from rolling to the back of the cabinet where spiders live rent-free.
Give yourself light. A headlamp releases both hands. A slim evaluation light on a magnet can stick to the garbage disposal housing, showering the underside of the sink in also light. You'll marvel just how much quicker you work when you can really see the strings and gaskets.
Protect the counter top. Tape off the location around the faucet holes with painter's tape, particularly on stone or high-gloss laminate. Tape keeps grit from scratching and makes cleaning cleaner. If you're dealing with Wilsonville faucet installation service an undermount sink and rock, set down a soft floor covering for your tools so you do not chip a side when you established a wrench down absentmindedly.
Test the shutoff valves, then determine if they deserve keeping
Find the hot and cold angle quits under the sink. If you have a single shutoff feeding both lines, plan to make use of the major residence shutoff instead. Turn the shutoffs clockwise to close. If they don't turn easily, stop. A quarter turn need to begin motion. Compeling a crusted shutoff can break the stem or break the solder joint in the wall surface. If a valve will not budge, shut down your home water, open up a faucet to alleviate stress, then replace the angle stop while you're currently in the closet. Compression-fit valves can be replaced with standard tools, though you require to match the supply size and type.
Once shut, turn the faucet on verify the water is really off. If it oozes for longer than a min, the shutoff may not be securing. You can wage your house water off, but make a note to change those valves soon. Leaky shutoffs are the primary reason a clean job becomes an emergency later.
A fast method: take a photo of the valves and supply lines prior to you touch anything. Labels discolor and memory obtains unclear. That image has conserved me greater than as soon as when changing similar finishes.
Disconnect the old faucet with persistence, not brute force
Old supply lines will be there, bonded by natural resource and time. Use 2 wrenches: one to hold the valve body, another to loosen up the supply nut. If you turn the shutoff without support, you can misshape the soft copper feeding it inside the wall surface. Spritz a passing through lube on strings and give it a couple of mins. That delay is more affordable than a drywall repair.
Once the materials are off, eliminate the placing nuts that hold the faucet to the sink deck. This is where a basin wrench makes its keep, getting to past the sink dish to order nuts in stiff clearances. If the nuts reject to transform, use heat with a hair clothes dryer, not a torch. A min of gentle warm can expand stuck metal just sufficient. If corrosion has totally fused the nut, you may require to suffice off with a multi-tool, yet protect the sink with a thin sheet of stainless or a painter's device to deflect the blade.
For pull-down taps, separate the weight and docking magnet initially. For a side sprayer, locate the diverter link and cap it if the new tap won't use it. Keep an eye on gaskets. You'll be amazed where a little rubber washer can conceal when it pops loose.
As the faucet raises totally free, examine the deck for damage that the base may have been concealing. Deep scrapes, crawler cracks in enamel, or an inflamed laminate core around the opening are not simply cosmetic. They impact exactly how well the new faucet seals and sits.
Strip the deck to tidy, flat, and dry
This is where most installations go wrong. The old sealer requires to vanish, not simply smear. Scrape off putty with a plastic scraper on softer surface areas, and a sharp 1 inch carve held nearly flat on metal and stone. Job slowly. Purpose to raise whole strips. If you dig at a spot, you'll gouge the deck. For silicone, a devoted silicone remover softens deposits, particularly on quartz and porcelain. It takes perseverance. Solvents do the chemical job while you sip coffee.
After the mass is off, tidy the area with a non-abrasive cleanser. Isopropyl alcohol leaves no movie and cuts oil well. Stay clear of citrus or oil-based cleansers before applying brand-new sealant, they leave a deposit that repels silicone.
Run a fingertip around the openings. You're checking for bumps, sticking out grain on timber, and chips. Chips around hole edges can let water creep under an escutcheon. Small chips can be alleviated with 220-grit paper wrapped around a dowel. Maintain sanding light and even. On porcelain enamel, stop at cleaning. Fining sand will reveal steel and invite rust.
If the kitchen counter is porous stone and the brand-new tap relies on silicone for sealing, take into consideration using a narrow bead of clear silicone as a vapor barrier around each opening, then smoothing it to a whisper-thin movie with a gloved finger. Let it cure. This protects against wicking under the ended up seal.
Confirm opening spacing, diameter, and reach
Before you ever bring the new tap right into the room, measure the deck. Hole diameter normally runs 1.125 to 1.375 inches. Some modern-day faucets require a complete 1.5 inches for large supply shanks or incorporated pipes. A simple action bit can open up a stainless or laminate hole easily. On stone, quit and call your maker if a hole is undersized. The wrong bit and rate can chip an edge. It's less expensive to pay for one tidy augmentation than to cope with a rough crescent.
Check the range from the faucet hole facility to the sink bowl side. A high gooseneck looks excellent until the spout barely clears the bowl, spraying on the deck. Aim for a spout that jobs to roughly the center of the container. For regular kitchen area sinks, 8 to 10 inches of reach jobs. For little restroom sinks, a short spout can still overshoot a shallow dish if the tap sits much back. If the geometry is wrong, now is the moment to select a different tap, not after you have actually reduced open the box.
If you're using a deck plate to cover additional openings, completely dry fit it with the gasket and guarantee it completely covers the openings. A bit of revealed opening is not something you can take care of with additional sealant.
Tame the tangle under the sink
A clean installation requires clear paths for pipes and devices. Consider the P-trap placement, the garbage disposal body, the dishwashing machine air void pipe, and any type of filtering system containers. I like to loosen up the catch and turn it an inch if it's blocking gain access to, as long as I can preserve incline and seal. Keep in mind the positioning of any slip joint washers so they go back correctly.
Check the electrical line for the disposal, if present. Validate it isn't stapled within the cabinet in a way that will certainly grab your basin wrench or your forearm. If the electrical outlet is in the back left, plan to function from the ideal side to maintain cables out of the way.
Find a home for the pull-down hose pipe weight. You require a tidy decrease so the hose pulls back without rubbing. If a drain pipe or shelf interferes, you can readjust the course by rotating the faucet throughout install or by sticking a tiny adhesive-backed overview under the sink to hold the hose pipe away from obstructions. Absolutely nothing makes a brand-new tap feel cheap like a tube that won't return smoothly.
Inspect and upgrade supply lines and connections
Most modern taps ship with stainless braided supply lines connected. They're dependable and rated for common pressures. If your faucet needs separate lines, acquire braided lines with a gentle sweep, not ones that kink when you push them. Suit the size to avoid tight bends. I aim for a loophole with a radius at the very least the size of a grapefruit. Sharp bends worry the lining and can hum at certain circulation rates.
Supply connections vary: compression, FIP, or push-to-connect on some valves. Evaluate the valve threads for dings or flattened locations. If the ferrule on a compression shutoff has deep grooves or deterioration, changing the shutoff defeats attempting to seal a compromised seat. Dab a bit of plumber's grease on rubber washing machines. Do not utilize pipeline dope or tape on compression strings. For threaded FIP connections that seal on the strings, wrap PTFE tape snugly towards the strings, two to three covers. Much more isn't better. Thick heaps are the adversary of appropriate seating.
If you're including devices like a filtered tap or a soap dispenser, pre-plan the tee connections. I keep short shutoff adapters handy to separate attachments throughout future upkeep. It's a tiny cost that pays off the first time a cartridge fails and you don't want to close the whole sink down.
Dry fit everything like you suggest it
Treat the faucet like a problem, not a shock. Place the faucet on the deck without sealer and inspect clearances. Feed pipes through the openings and ensure they land where you anticipate. Revolve the body to discover the wonderful place where the take care of gets rid of the backsplash when totally hot. Some single-handle faucets can be readied to a forward-facing neutral setting so the deal with doesn't strike the tile at 115 degrees. If you uncover a clash currently, you can reorient the body or pick a various deal with sweep.
For three-hole extensive taps, outlined the deals with and spout. Validate the reach of the interconnecting hose pipes. If the valves sit also far apart for the supplied lines, change the spacing or strategy to buy longer connectors. Hate to state it, yet I have actually been caught by a millimeter here. Dry suitable conserved the day.
Once you're certain in positioning, mark a pale pencil line on the deck to reference placement. On stone, make use of a removable wax pencil. Those marks make final setting up quick and true.
Choose the appropriate seal
Sealants are not interchangeable. Plumbing's putty is traditional under metal escutcheons on non-porous surface areas like stainless or porcelain. It remains flexible and can be eliminated later on. It can discolor permeable rock and some compounds. Make use of a non-staining putty if the kitchen counter could soak up oils. Silicone develops a long lasting seal on rock, quartz, and glass, but it's more long-term. If you ever before anticipate to change the tap, a thin, also grain simply outside the openings provides a water barrier without cementing the whole base.
Many taps currently deliver with molded gaskets. If you have one, count on it unless the counter is irregular. Gaskets press against a tidy, level deck and require no extra goop. If the surface has pitting, a whisper of clear silicone on the underside of the gasket aids. Apply so gently that it doesn't squeeze out.
Soap dispensers take advantage of a slim ring of silicone under the flange. That location sees foam and spills daily, and putty can loosen there.
Get your devices with each other so you do not leave mid-job
The fastest Faucet Installation jobs never ever pause because the best tool is currently on the towel. Collect what you require accessible. Then stop and include a few additionals: a little mirror, string seal tape, an extra supply line, a stubby screwdriver, utility knife, rags, a cup for bolts, zip connections for pipe monitoring, and a pen. An additional bucket never harms. Under a sink, things run downhill fast.
List one: Compact prep toolkit for under-sink work
- Basin wrench and flexible wrench Slip-joint pliers and network locks Utility knife, plastic scraper, and rags Headlamp or slim work light, tiny mirror PTFE tape, silicone, plumbing technician's putty (non-staining), gloves
Time to devote: set the faucet and secure it right
With the deck tidy, dry, and significant, apply your chosen seal or set the gasket. Feed the hose pipes and shank through the opening. Keep the faucet aligned with your pencil mark. Under the sink, slide the gasket, friction ring, and mounting nut up the shank in the order the manufacturer specifies. Tighten up by hand until snug, then utilize the wrench. Do not overtighten. You're compressing a gasket, not pressing bearings. I stop and examine alignment as I go. Two little adjustments currently prevent a misaligned spout that will trouble you for years.
For three-hole faucets, start by loosely mounting all three components. Bring them gradually to snug, checking the deal with angle for symmetry. If the takes care of really feel stiff after tightening up, you may have compressed a gasket right into the relocating components. Back off a quarter turn and test.
Pull-down models need the hose transmitted after the body is secured. Connect the spray head, feed the tube with, and clip on the weight at the defined distance from the head. The weight requires a clear vertical run. Cycle the hose a lots times by hand to confirm smooth traveling. Change the weight placement if the head hangs short of docking.
Connect the supply lines to the shutoff valves. Hand-tight first, then a quarter turn with a wrench. Assistance the shutoff body with the second wrench to avoid torque on the wall line. If attaching to a disposal's dishwashing machine inlet or a side sprayer diverter, comply with the offered order. Some diverter caps require a gasket seated so, or they'll mist under pressure.
Prime and pressure examination like a pro
Before you allow water loose, eliminate the aerator from the spout. Debris from brand-new lines and sealant smears will certainly lodge there. Shut the faucet deal with. Open the chilly shutoff gradually, then the warm. Expect instant beading around each link. Run a dry finger around every joint. Water will cling and feel trendy prior to you see a drip.
Once the lines are pressurized, open up the faucet to flush. Allow each side run for 30 to 60 seconds. While it runs, check under the sink once again. You're looking for sluggish developing declines that turn up just under circulation. If you spot one, close that side and lightly snug the connection. A lot of weeps react to a small adjustment. Muscling it down is just how you break a ferrule or misshape a washer.
Reinstall the aerator and test once again. Move the take care of via the complete range. Really feel for smoothness and examine that cold and hot are oriented as you anticipate. If hot and cold are turned around, switch the supply lines. It's quicker than explaining to every houseguest that hot is ideal now.
Finally, run the spray head. Cycle the hose pipe weight and make certain the head anchors completely. If it magnetically docks, the click need to be crisp. A dragging pipe can be corrected with a wire overview under the sink or by rotating the tap body a couple of degrees so the pipe path avoids obstacles.
Deal with edge cases before they take care of you
Real homes are not magazines. Expect the outliers.
- If the counter top is swollen laminate around the opening, cuts with a sharp energy blade can soothe the ridge. Seal the exposed fragment board with a shellac-based guide, let it dry, after that mount. It buys you years before swelling returns. If the sink flexes when you tighten up the faucet, back off, add a backing plate or a big stainless washer under the deck, after that tighten up evenly. Slim stainless sinks take advantage of lots spreaders to avoid the faucet from wobbling whenever somebody uses the sprayer. If you uncover a drip at the spout base after set up, check the O-ring on the cartridge or the spray head link. Numerous spout leakages come from twisted O-rings throughout setting up. A bit of silicone oil and a re-seat generally addresses it. If you locate sand or grit in the water, particularly after a primary shutoff occasion, flush supply lines right into a container before linking to the faucet. Grit will certainly mark cartridge seals and reduce the tap's life.
Leave it clean and documented
Clean off any kind of squeeze-out from putty or silicone with the proper solvent. Eliminate painter's tape while sealer is still practical to prevent a ragged side. Wipe fingerprints from the completed with a soft microfiber cloth, then a final pass of alcohol on stainless to remove any type of oils that welcome water spots.
Take a final collection of photos. One bigger shot of the under-sink layout with links visible. One close-up of each shutoff and supply. If you ever chase a mystery leak, those images will reveal the previously state. Put the tap's guidebook and spare parts in a zip bag taped inside the cabinet wall. Tag the shutoffs for cold and hot if it isn't obvious.
Then run the tap one more time. Place the closet materials back with a little order. If a bottle tends to tip right into the pipe path, move it. A week later, move your hand under the valves. If it feels dry and messy, the prep did its job.
A note on timing and costs
For most sinks, thoughtful preparation takes 40 to 90 mins. Removing a concrete fossil of an old tap can increase that. Replacing valves includes an additional hour if access is good. Materials that make a difference price much less than the faucet: a container wrench, high quality sealants, new angle quits if required, and great braided lines. If your time is limited, do the preparation the eve-- empty the cabinet, tidy the deck, examination the shutoffs. The following day, the tap enters without rush.
When to call a pro
You can deal with most property faucet swaps with the appropriate prep. Call for help if the shutoff valves rotate without quiting water, if you see corrosion around a copper joint, if the countertop requires rock boring, or if the faucet requires substantial adjustments to meet code in your location. A certified professional brings experience and liability insurance coverage. They additionally bring techniques like warm coverings for soft solder joints and extraction outlets for persistent nuts. Absolutely nothing wrong with outsourcing the hour that stops a flood.
The quiet satisfaction of a faucet that just works
The best installs are the ones you forget. The take care of steps like silk, the spray anchors with a click, and the cupboard flooring remains bone completely dry. That outcome isn't good luck. It's tidy openings, the ideal seal, supported valves, and clean lines free to relocate. Put your power into the prep, and the Faucet Installation ends up being a calm series, not a fumbling suit. That's just how pros make it look very easy-- because by the time the tap appears of package, the task is almost done.
Principled Plumbing LLC
Oregon City, Oregon
(503) 919-7243
https://www.principledplumbing.com/
Review us on Google